Fun with Vintage Valentine Puzzle Hankies
Many years ago I collected vintage Valentine hankies. It started when I found a poinsettia Christmas hankie in my mother’s things after she died. I remembered her carrying it. Soon after, I was wandering around an antique mall and found another one, and why have one when you can have two…or three or… They were easy to store, inexpensive, and fun to look for when out and about because you didn’t find them that often. I branched out to all holidays and subjects and it was a fun search for several years. Then Ebay came along and they were too easy to find on there and there were too many collectors driving up the prices so after a while I stopped collecting. I still have a very large vintage hankie collection. I didn’t realize that some of my Valentine hankies were puzzle hankies until I read a book about vintage hankies. They were also called Secret Message hankies. When they are folded in a certain way, they look completely different and sometimes they have a special message. They date from the late 40’s and early 50’s but none of mine have any markings or labels still on them. Since I wrote this blog post I have discovered St. Patrick’s Day and a Mother’s Puzzle hankie too so there are more designs out there.
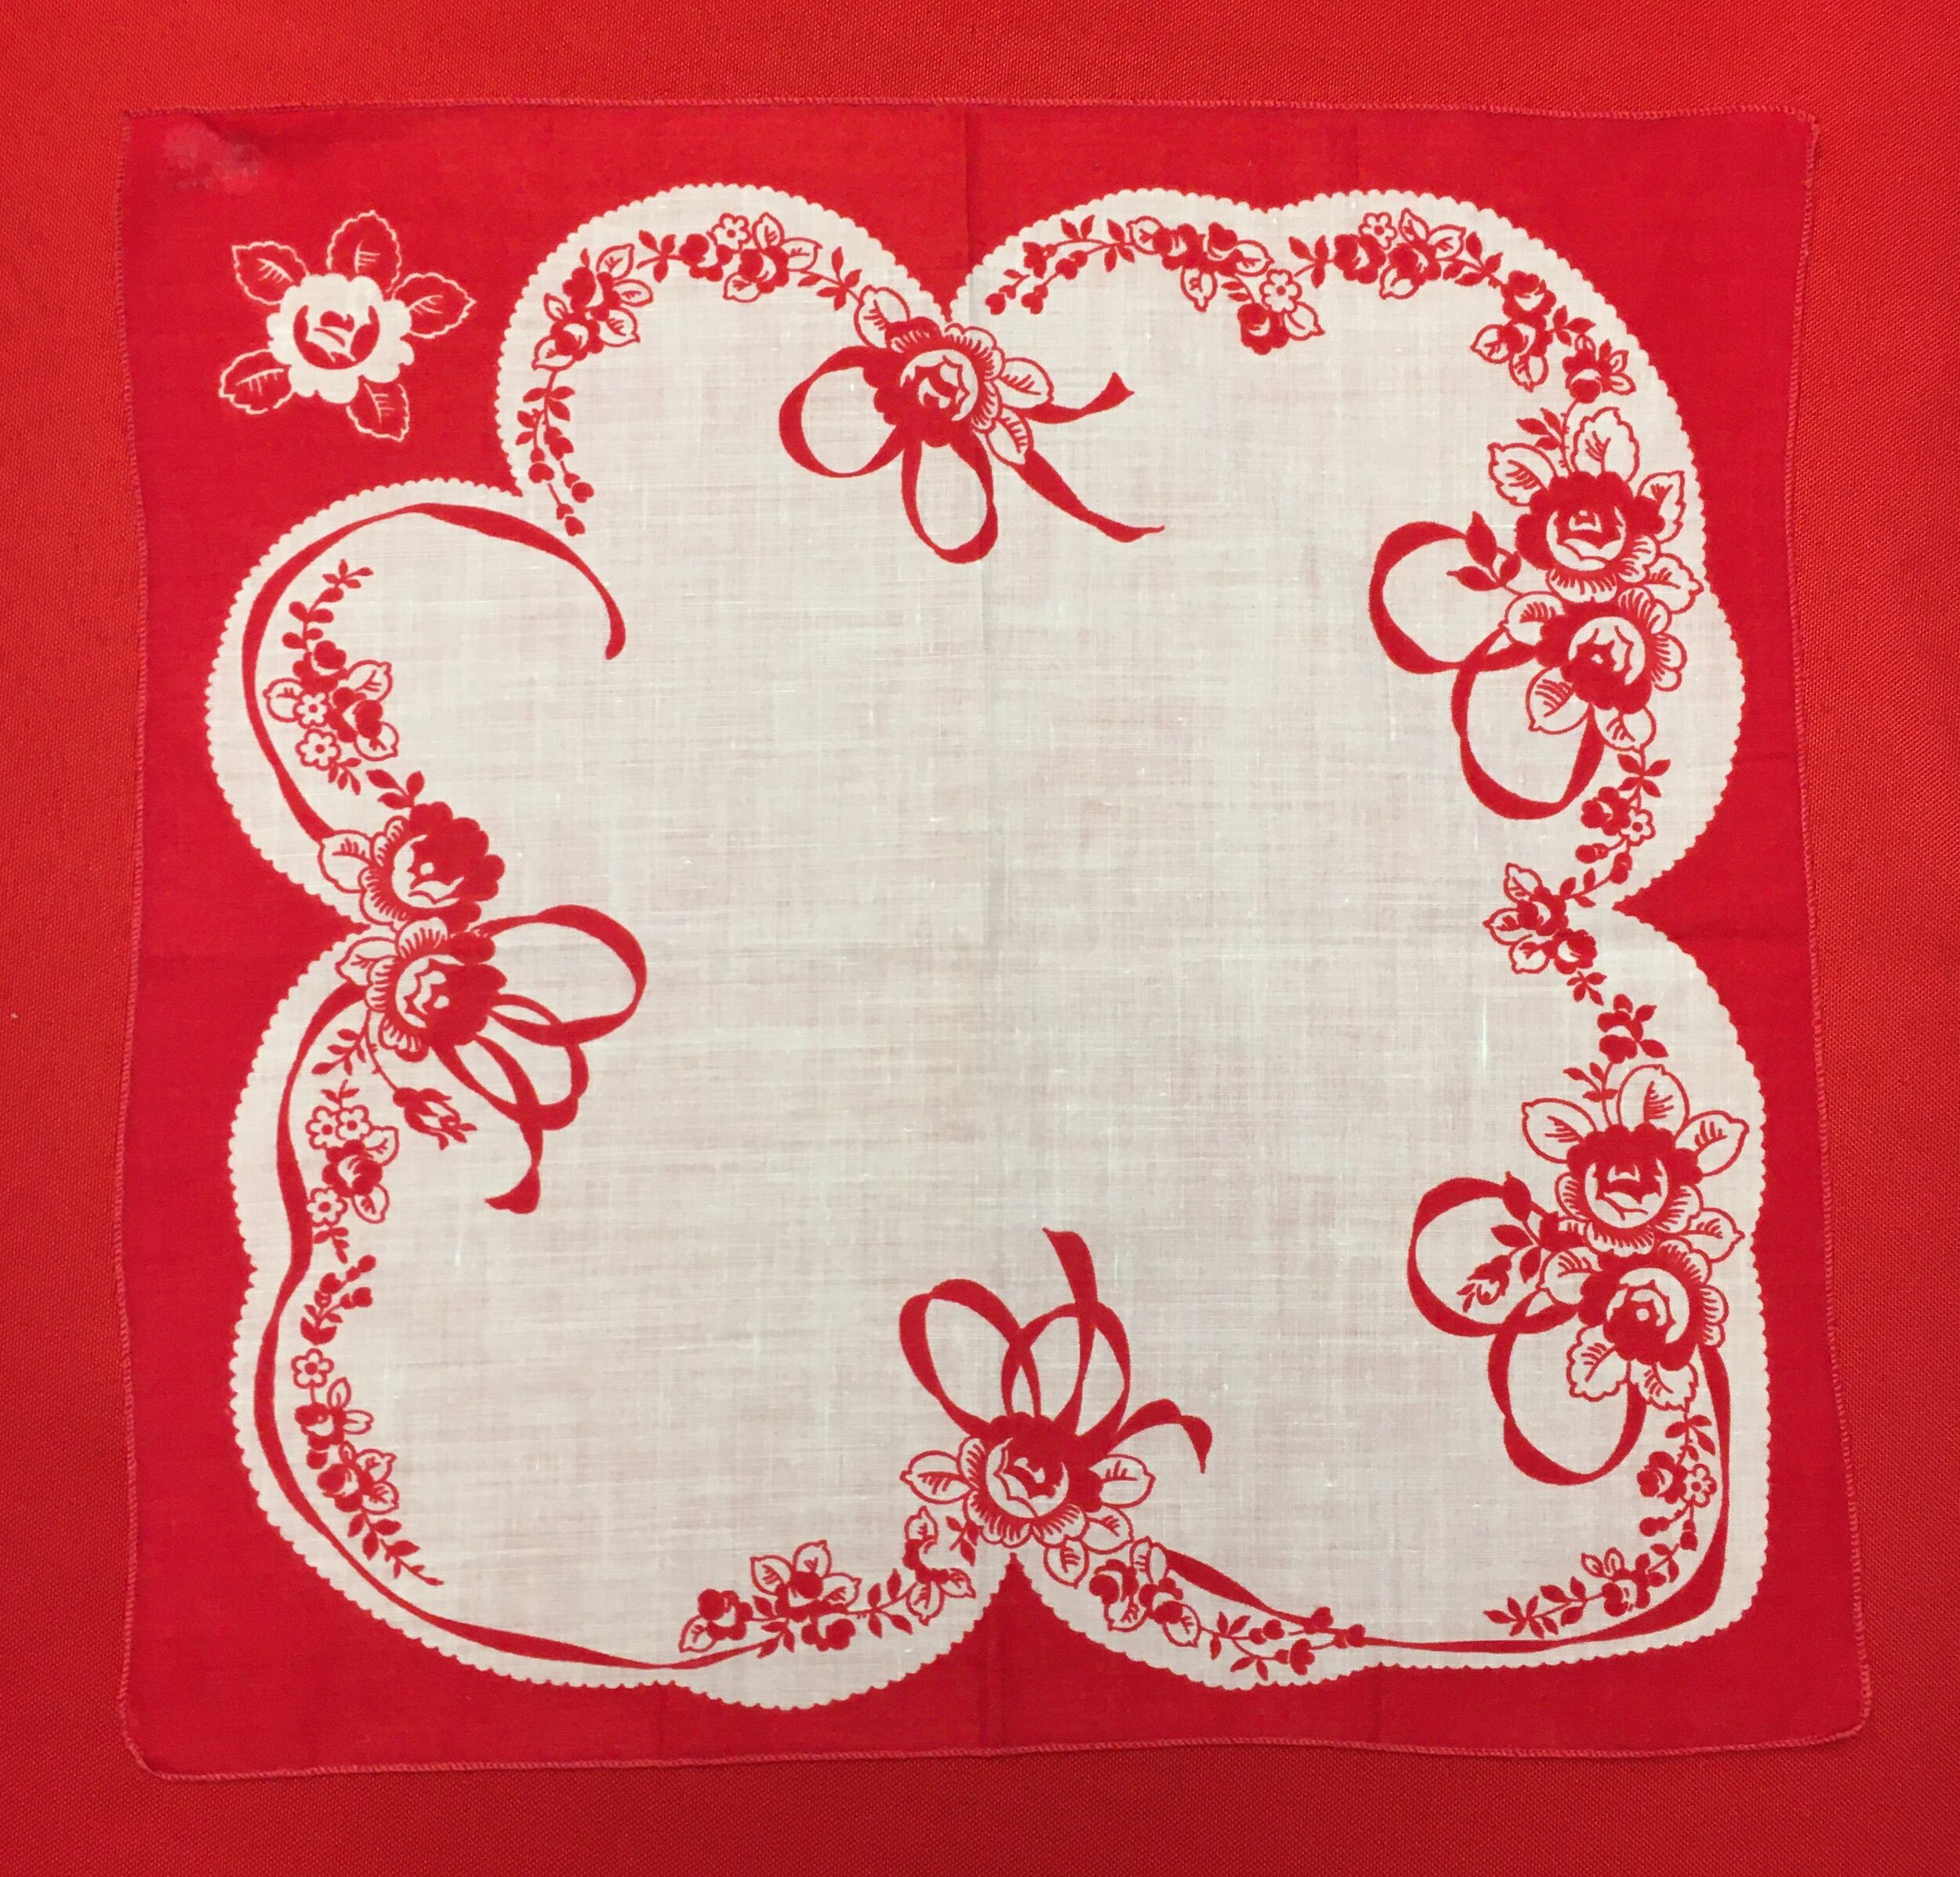
The Valentine hankie in the first photo looks like this when it is unfolded. Unless you know that it is a puzzle hankie with a secret message, it just looks like a pretty Valentine hankie.
You start to create the design by folding the hankie in half horizonally from bottom edge to top edge after you determine which side is the top. You might have to try folding it a couple different ways until you get it right.
Then you fold that folded half back down in half on top of itself. At this point you may begin to see the new design you are creating.
You fold the hankie in half again from left edge to right edge.
Lastly fold the previous fold of the hankie back on itself from right to left. Suddenly the message, My Valentine, appears. You may need to adjust the design a bit. Once you see the secret message or design you can look back and see parts of it in the orginal unfolded hankie.
The easiest way to find a puzzle hankie is to look at the borders of the design and the design on the Valentine hankie. On a puzzle hankie they are always irregular and the side designs don’t match.
A regular Valentine hankie is usually symmetrical although sometimes there is a large design on the hankie that isn’t symmetrical.
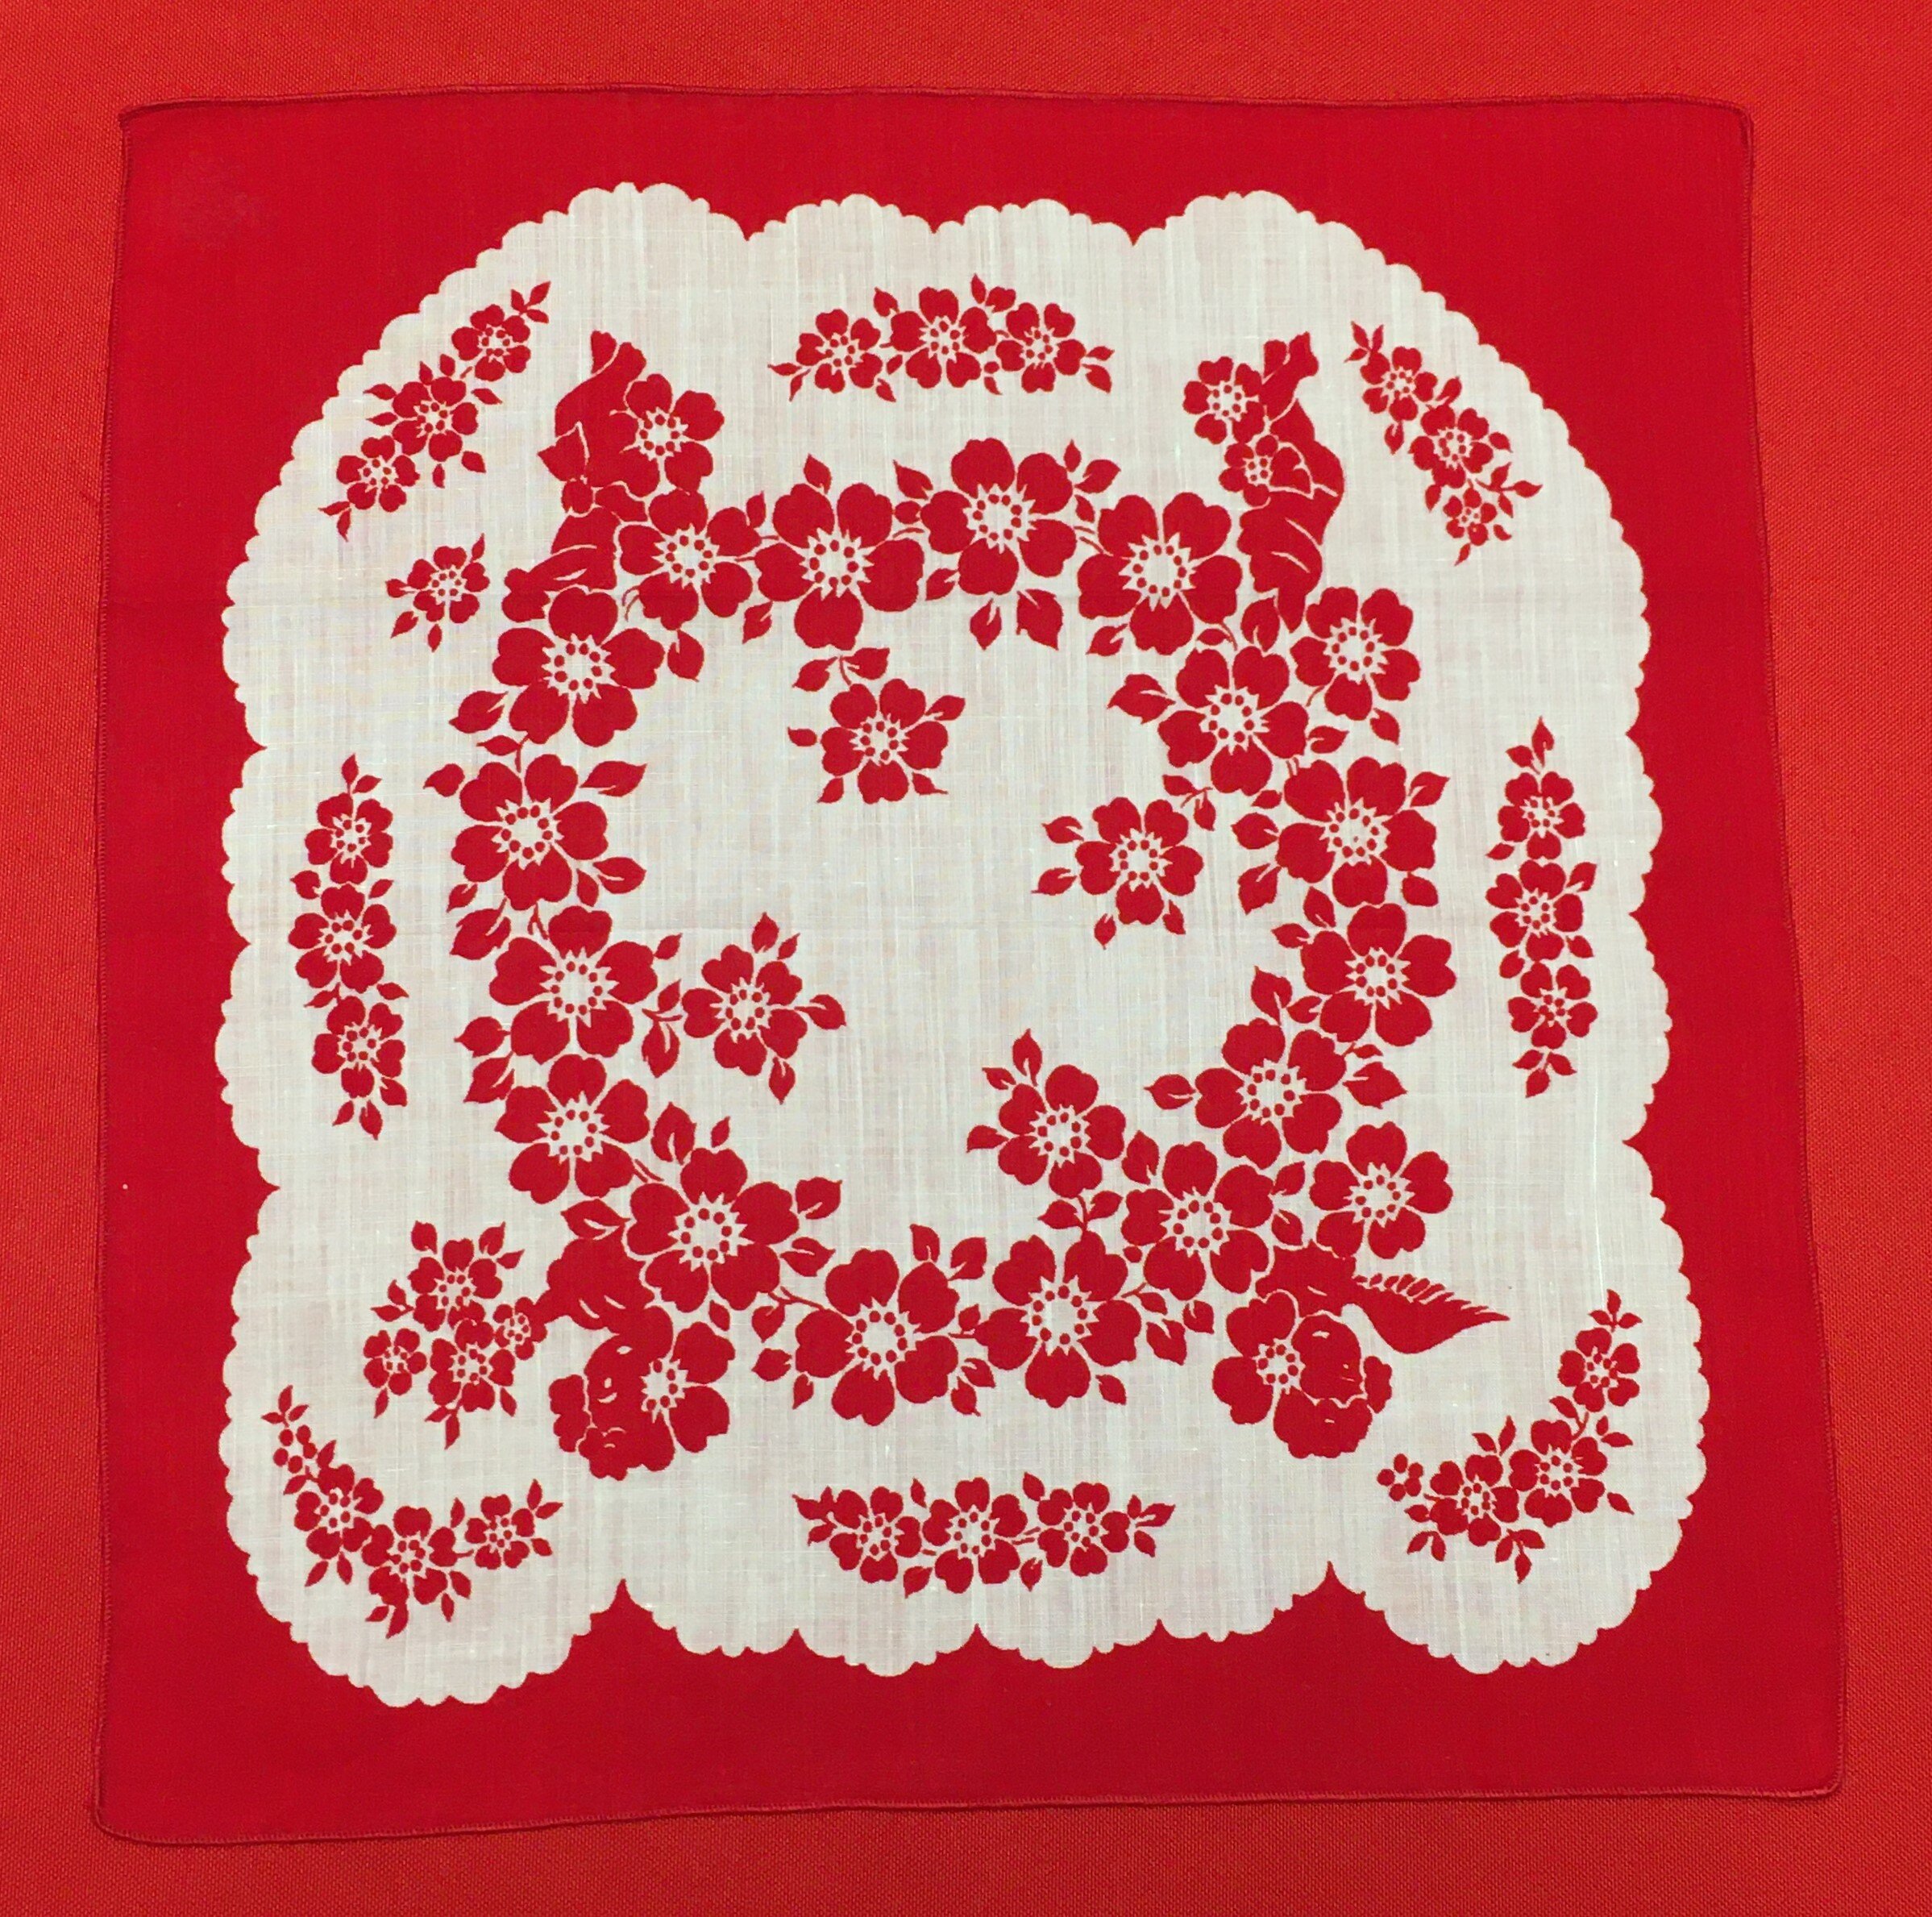
You can see the irregular design border on this Valentine puzzle hankie and the corner designs don’t match.
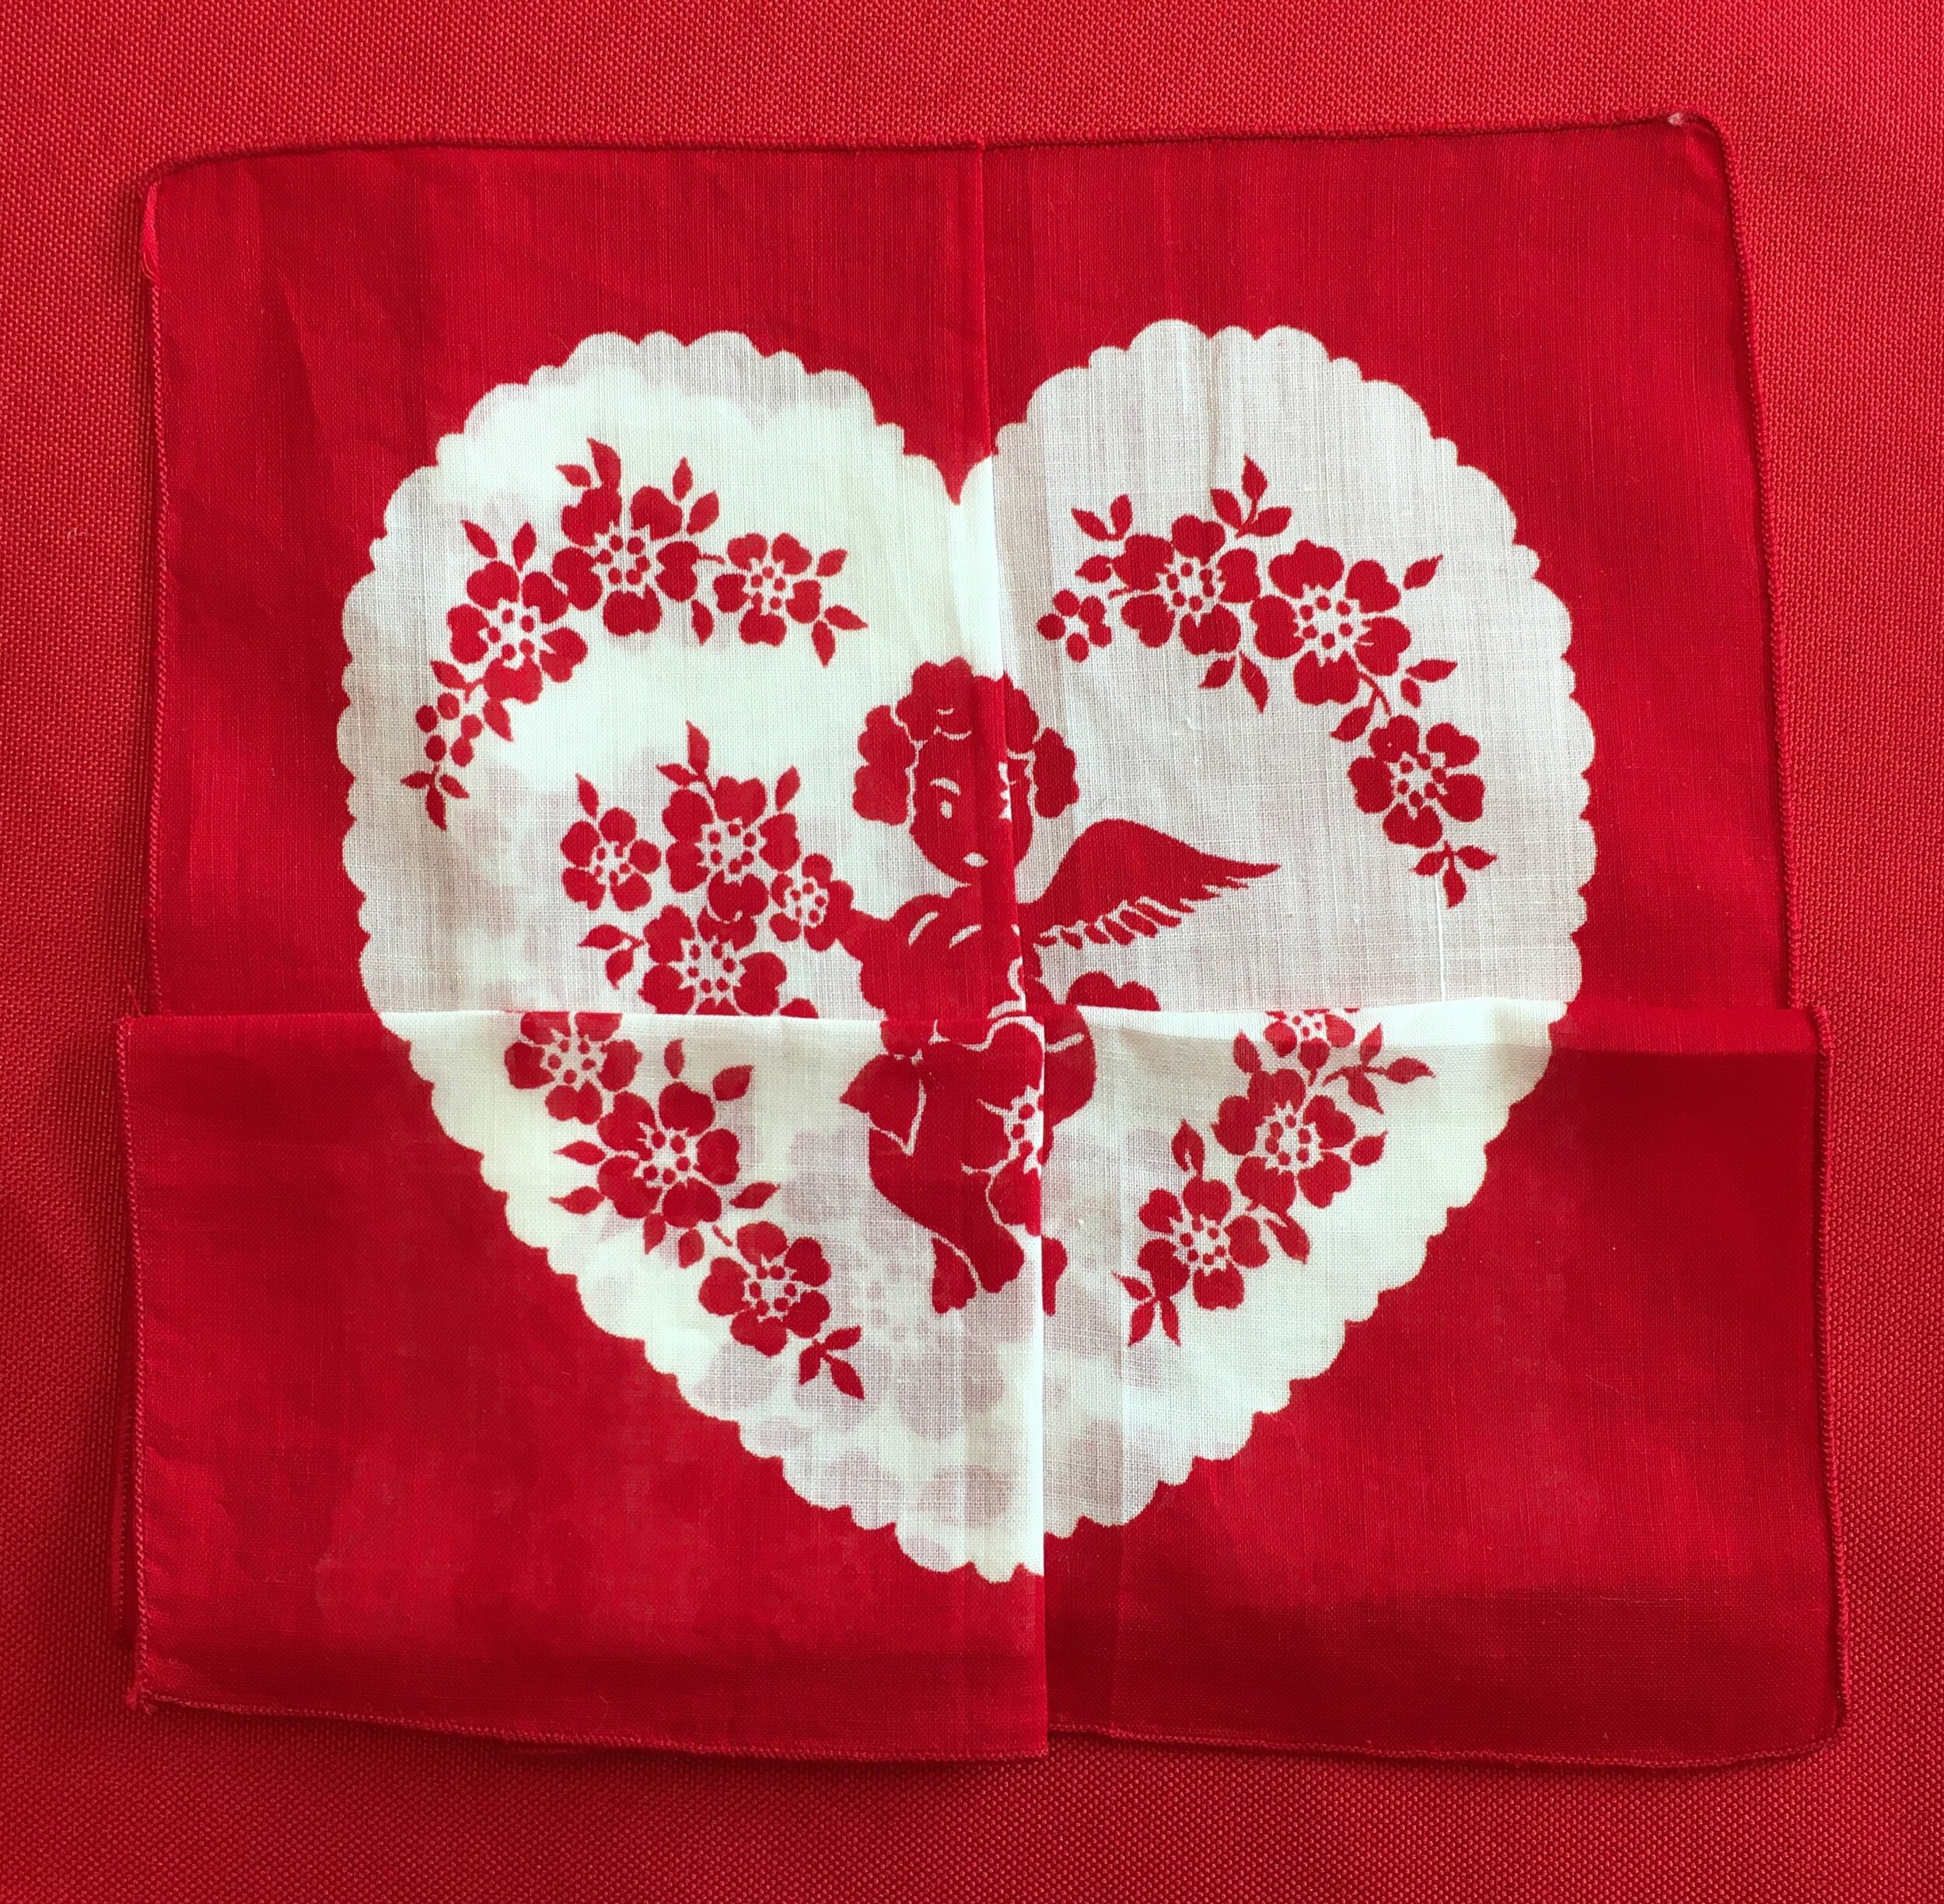
When you fold it, a Cupid suddenly appears! I love this one!
The irregular design really shows on this one.
Once it is folded, it becomes a heart. The folds are a bit different with this one. Sometimes you have to experiment to determine what the correct folds and sequence should be to create the design.
I like the tiny hearts in the center of this one.
This one becomes another heart. This one required differents folds than the other ones I have. Sometimes the final design doesn’t line up perfectly.
Once you learn how to identify Valentine puzzle hankies you can sometimes determine what the words will be in the secret message by looking carefully for individual letters in the design before you start folding.
The words, With Love, appear after the final fold on this one. If you look back at the original unfolded hankie you can see bits and pieces of the letters.
Lots of flowers on this one.
With the final fold, another Cupid appears on this one. He is well hidden in the unfolded hankie. These vintage Valentine puzzle hankies are not always easy to find because they are so old and if you do find them, they are sometimes expensive. I do see them on Ebay from time to time. Sometimes the seller doesn’t realize that it is a puzzle hankie so the price is more reasonable. I love their secret messages!
For more photos of some of my vintage Valentine hankies check here.
I have just started a Facebook Group, Vintage Hankies, Handkerchiefs, https://www.facebook.com/groups/897980928627111 to share photos of my hankies. I am hoping that others will join and share their hankies too!


